How to Upload SVG Cut Files to Cricut Design Space on the Computer
Uploading SVG files is an essential function within the Cricut Design Space program. It allows you to work with any designs you can get your hands on!
Some websites offer SVG cut files for free. But if you can’t find what you’re looking for, you can also purchase high-quality, Cricut-friendly SVG designs from digital asset stores.
Step-By-Step Guide to Cricut Design Space SVG Cut File Upload
After you’ve downloaded a design (in SVG file format) to your computer, importing it to Cricut Design Space desktop app is very simple!
1. Open a project that you wish to add your SVG file to
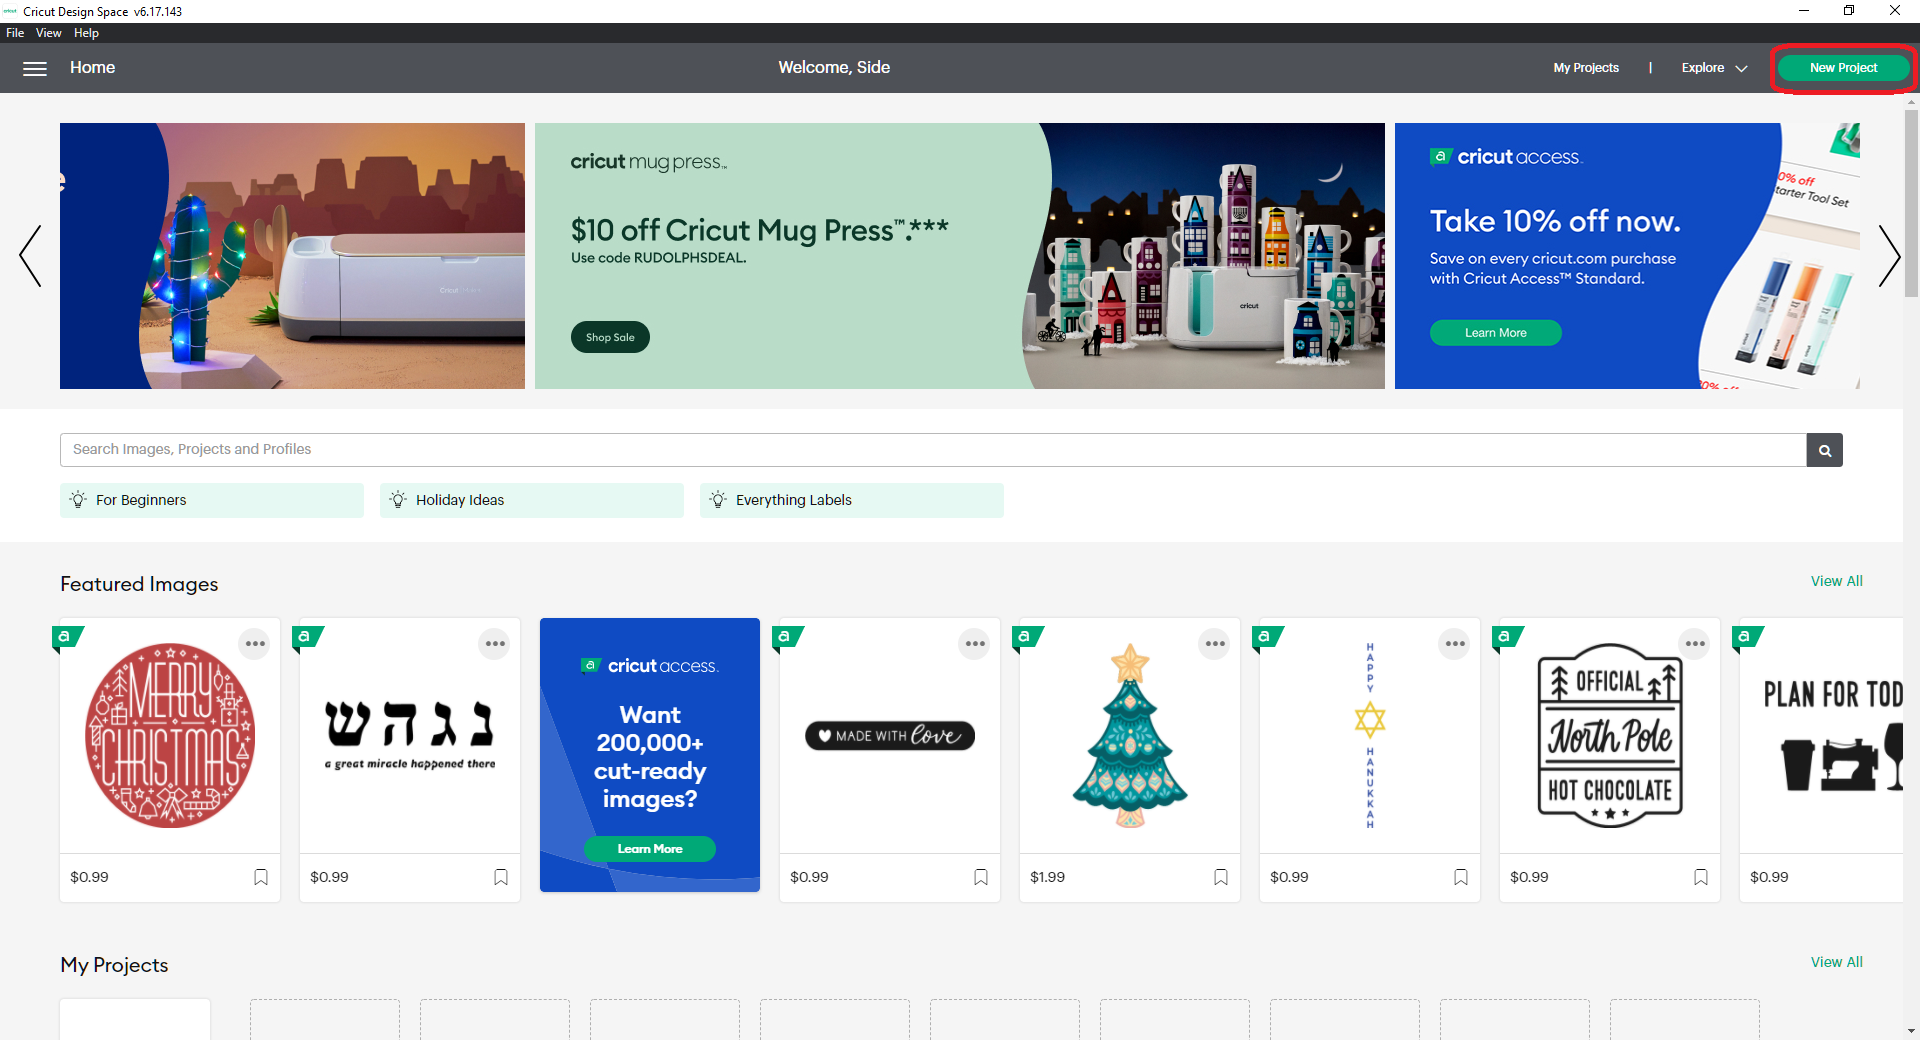
If you don’t have an existing project in mind, you can also create a new project from the home screen
2. Click “Upload”
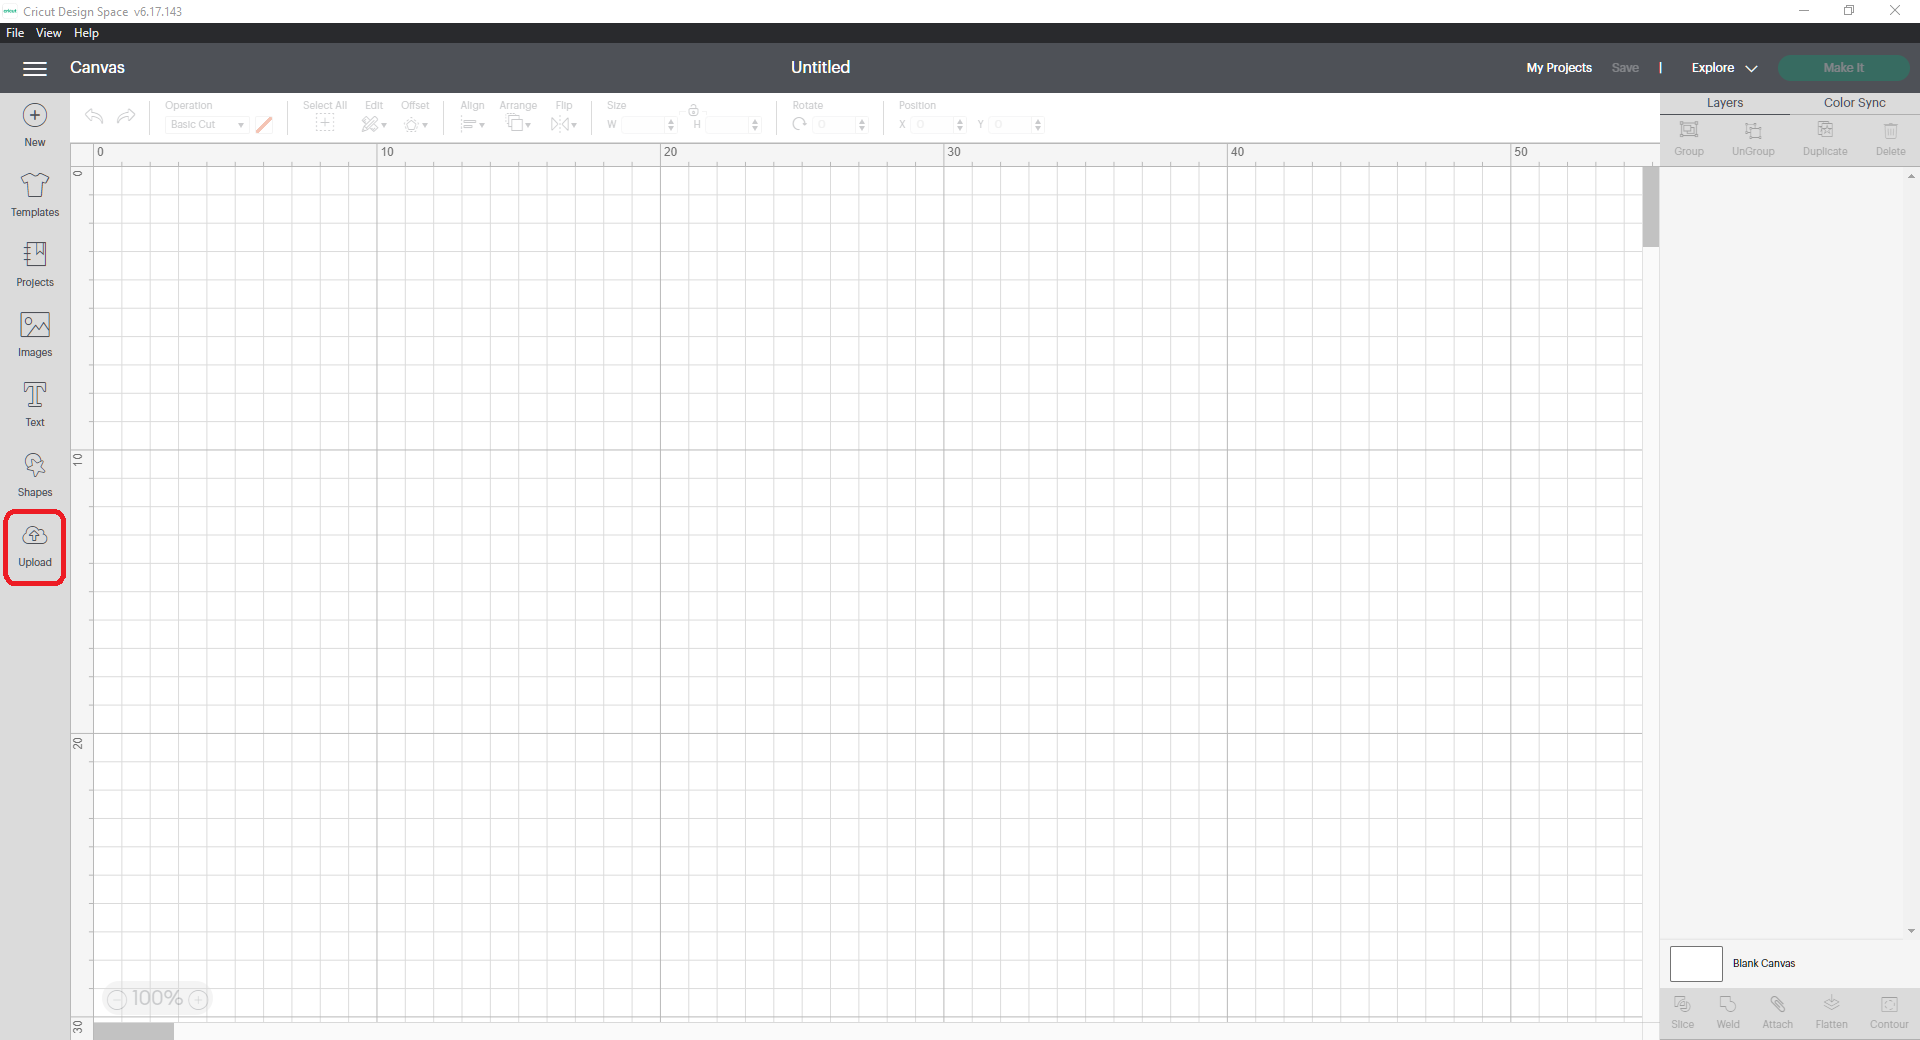
You can find the upload button on the left-hand sidebar.
3. Click “Upload Image”
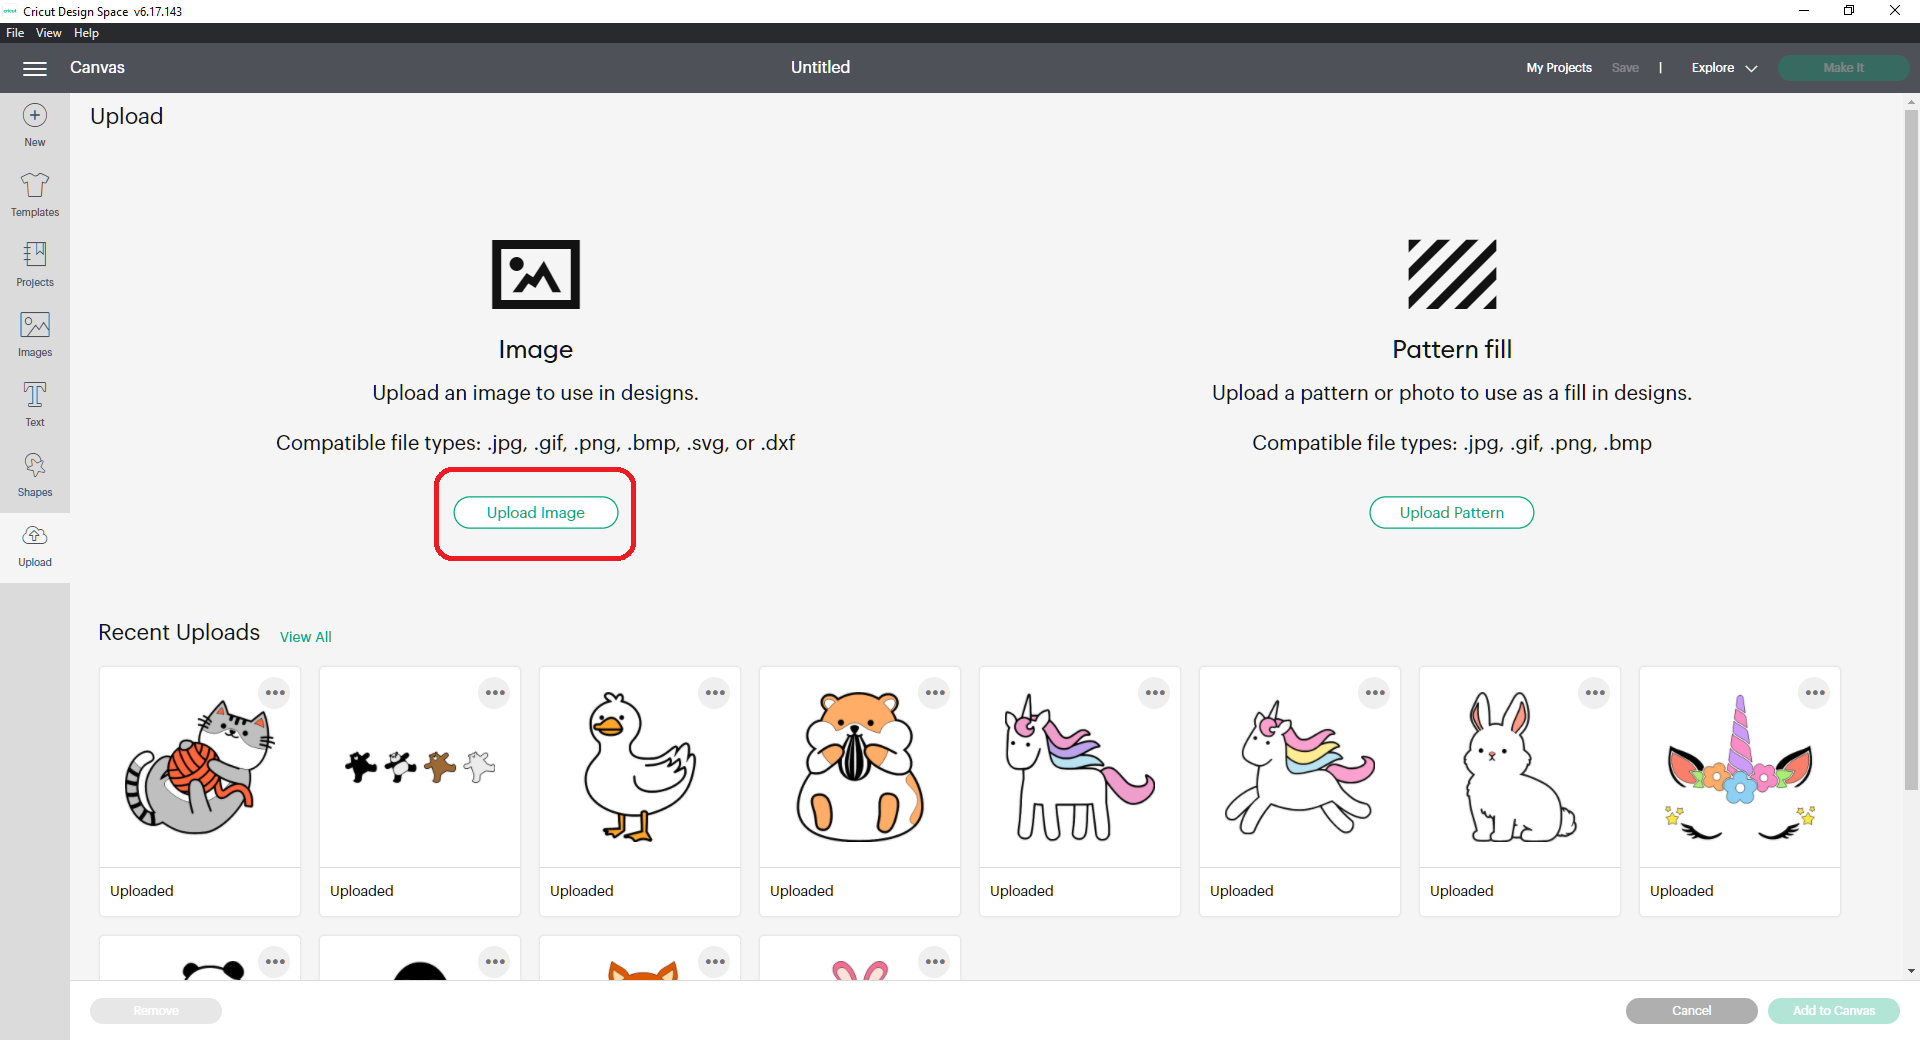
This is where you will find all of your recently uploaded design files.
4. Select the SVG file you wish to upload
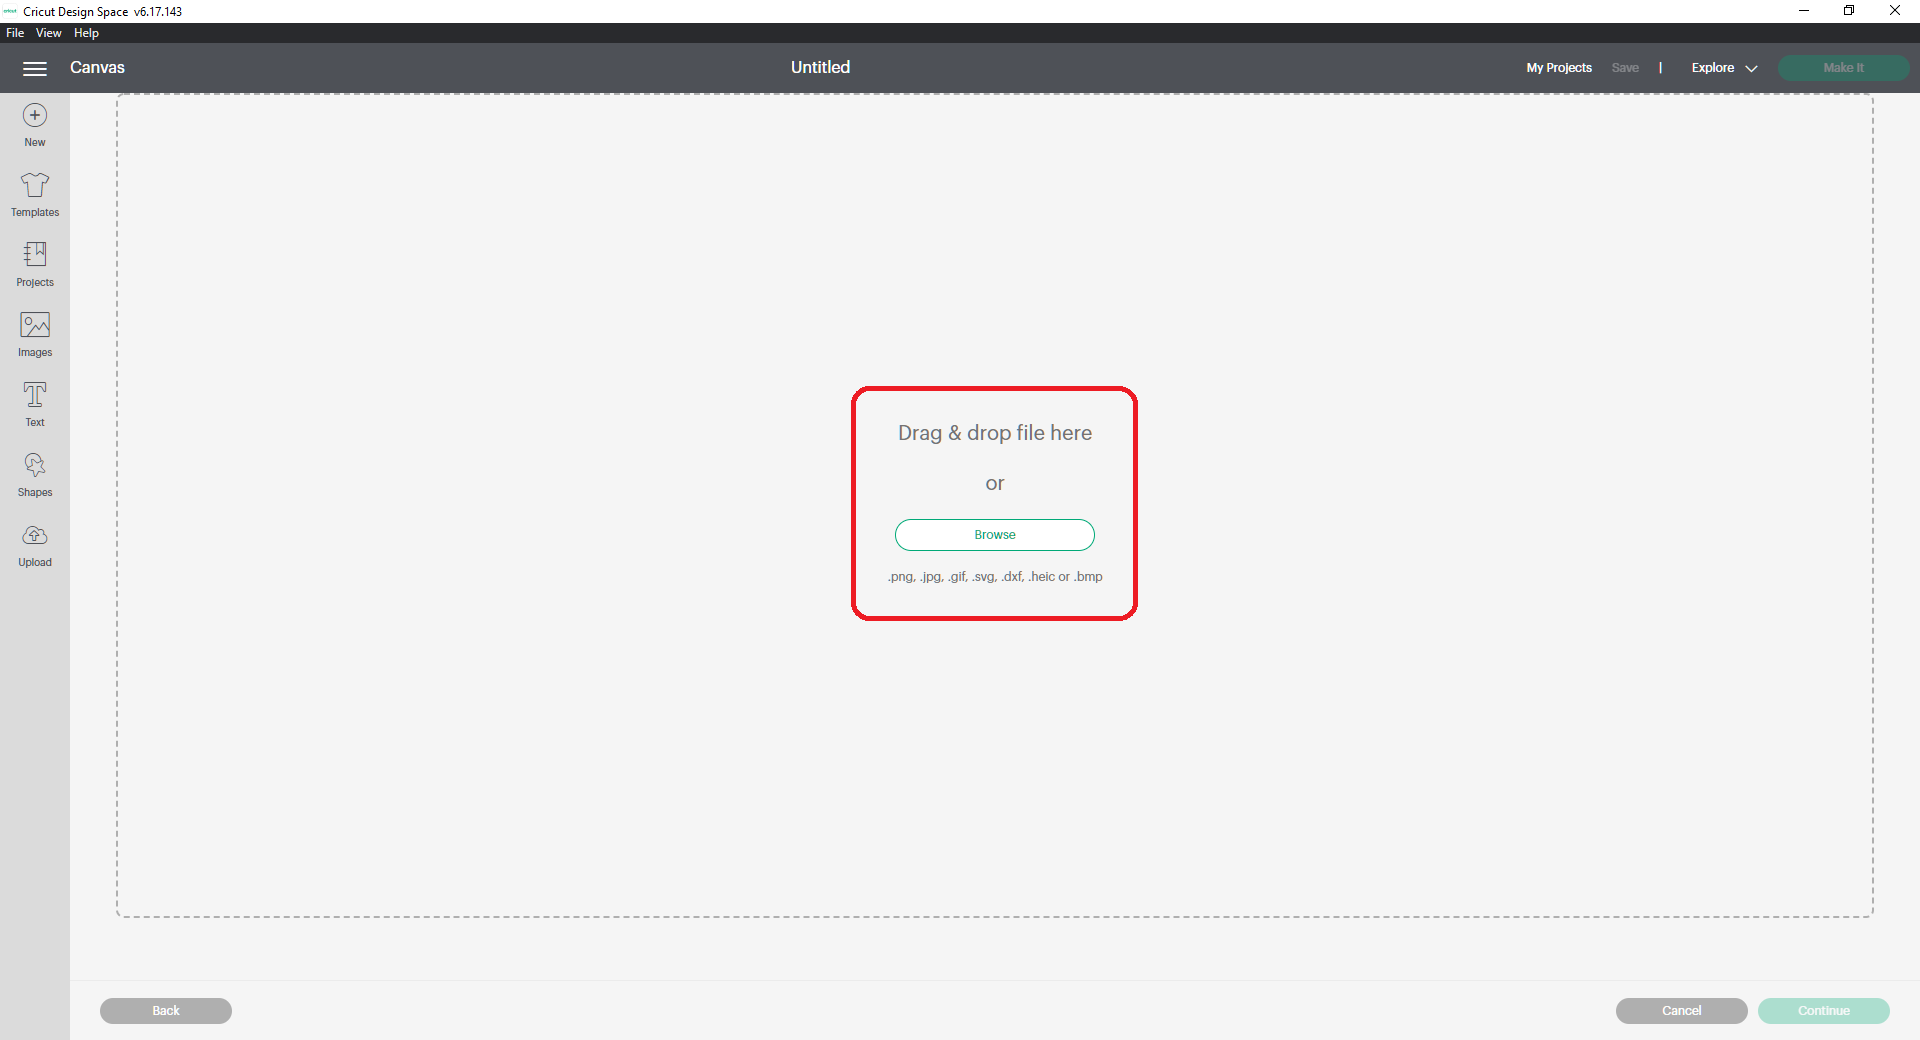
You can drag and drop the SVG file from your folders to the Design Space application
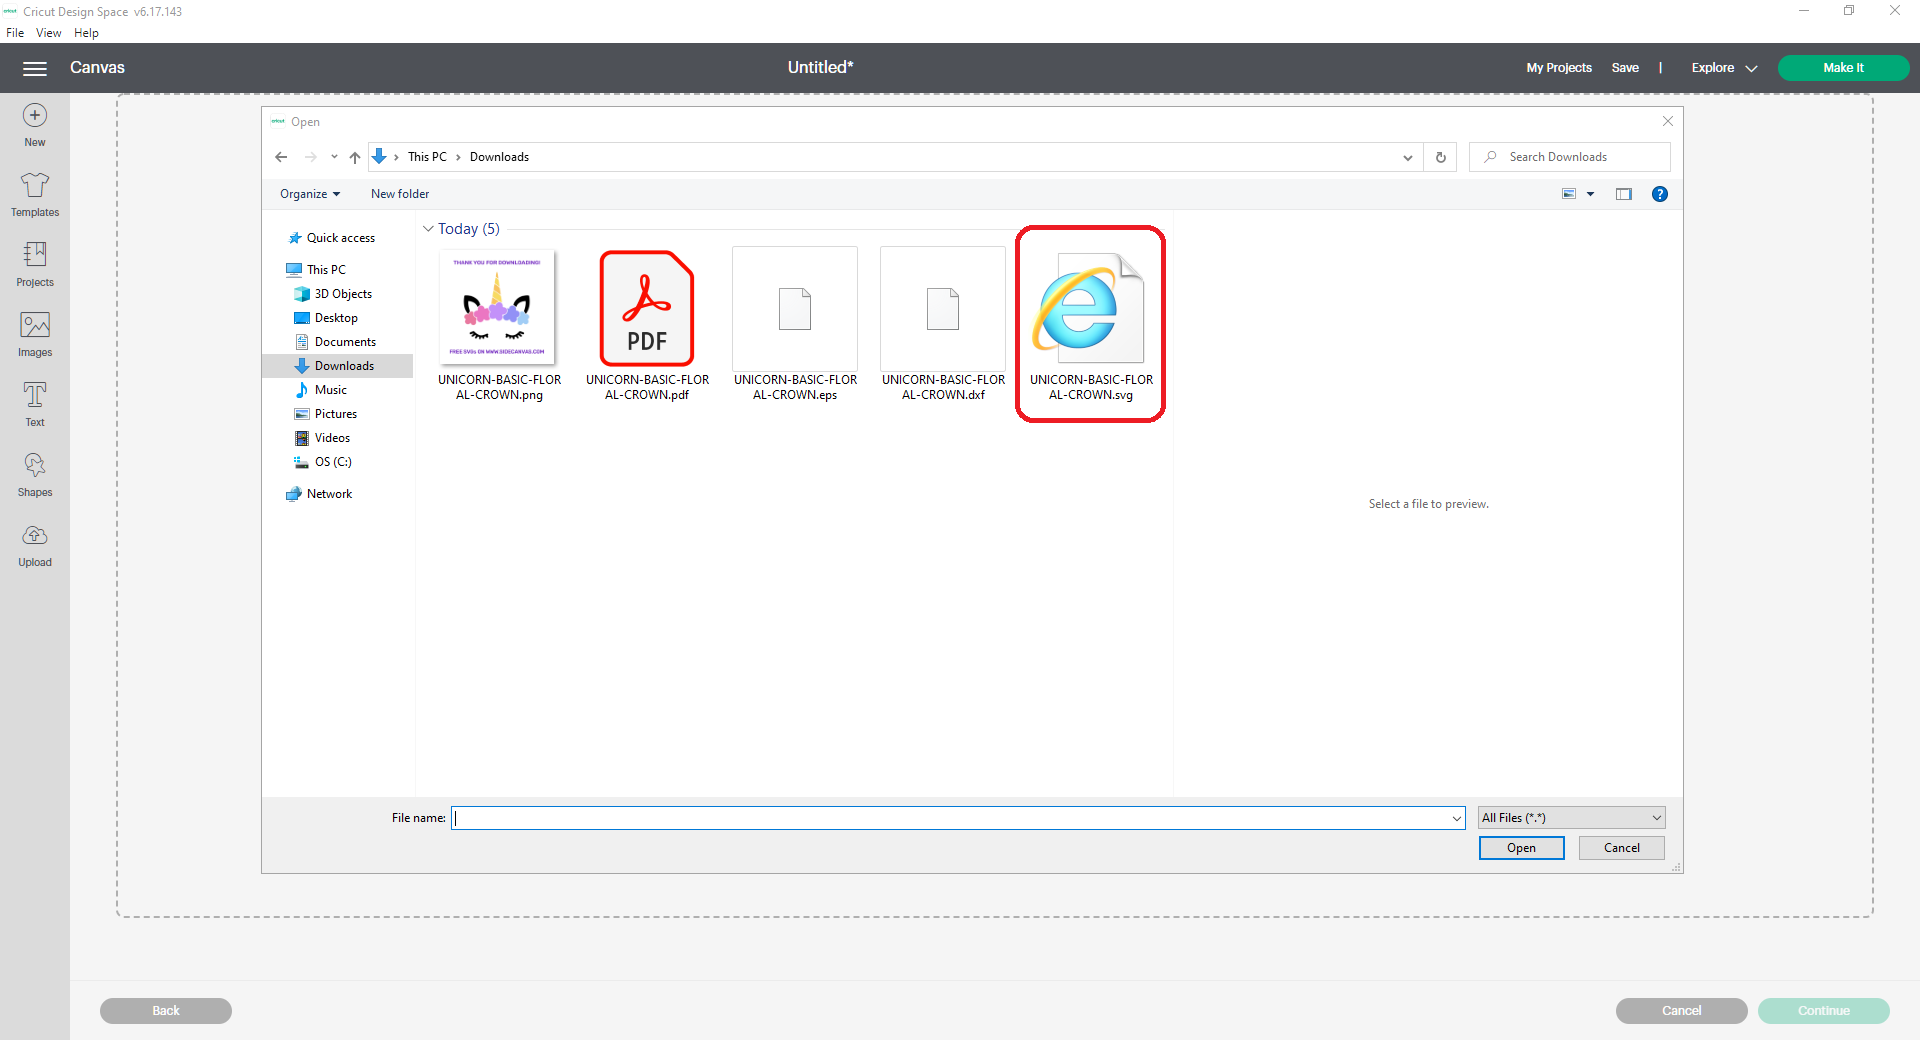
Or you can also click browse and select the SVG file. Depending on the default settings of your computer, your SVG file may have a different icon. You can tell if your file is an SVG cut file if it ends with “.svg”
5. Click “Upload”
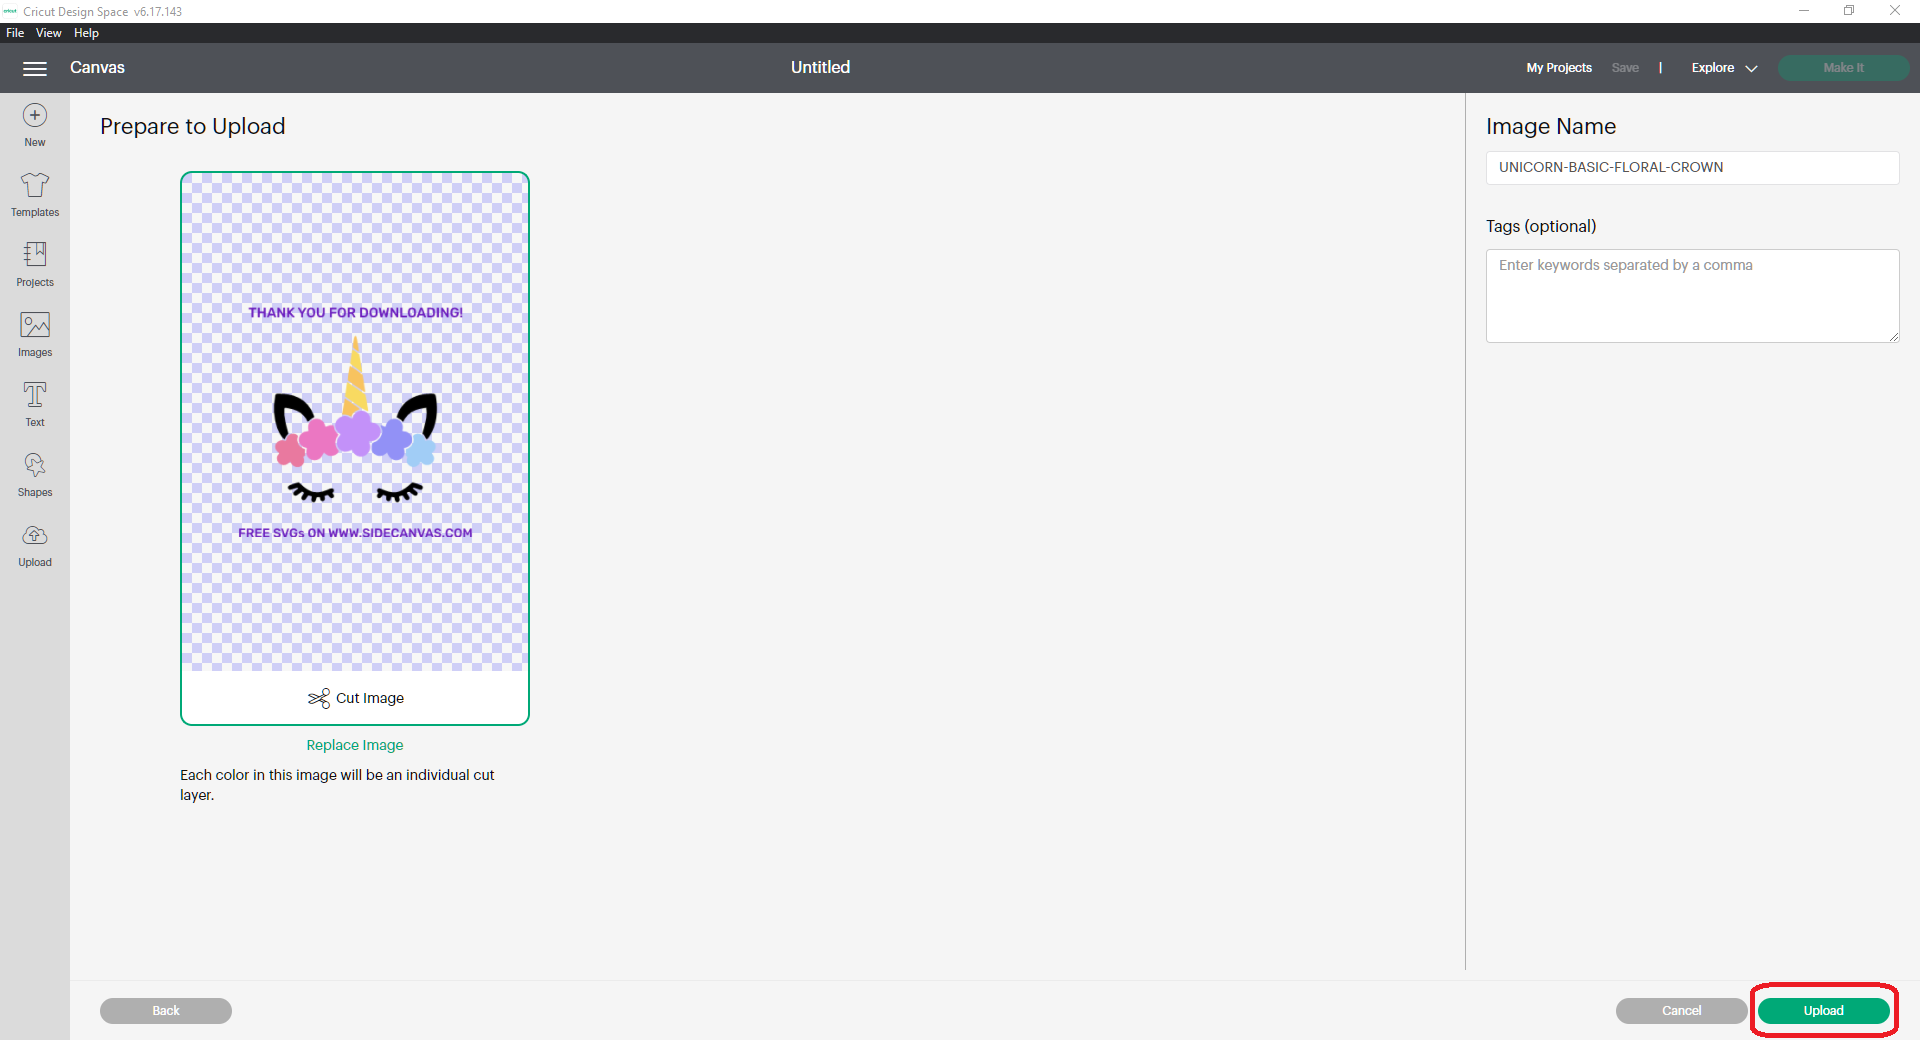
Here, you can preview the SVG file. Make sure you’ve selected the right one and click the green upload button.
6. Select the design you wish to add to your project
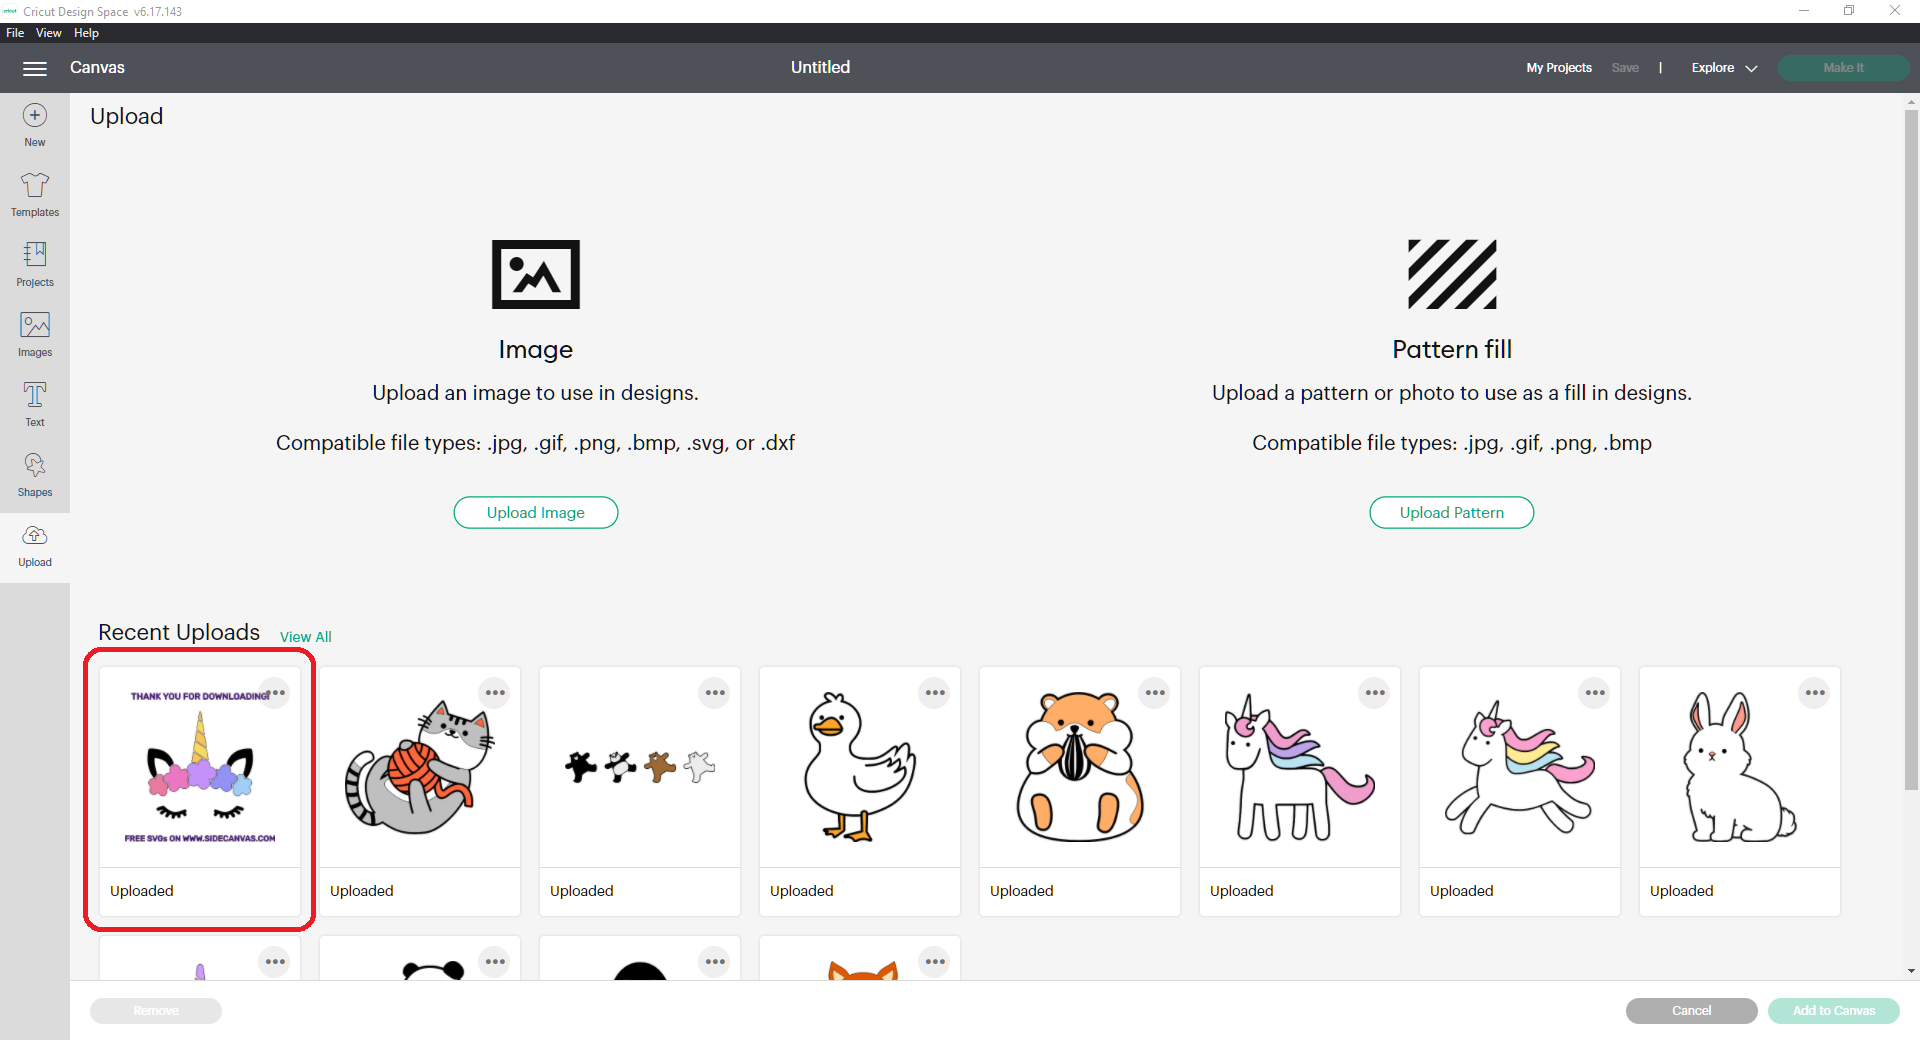
You should be able to see the SVG you’ve just uploaded in your “Recent Uploads”. Select the design you’ve just uploaded.
7. Click “Add to Canvas”
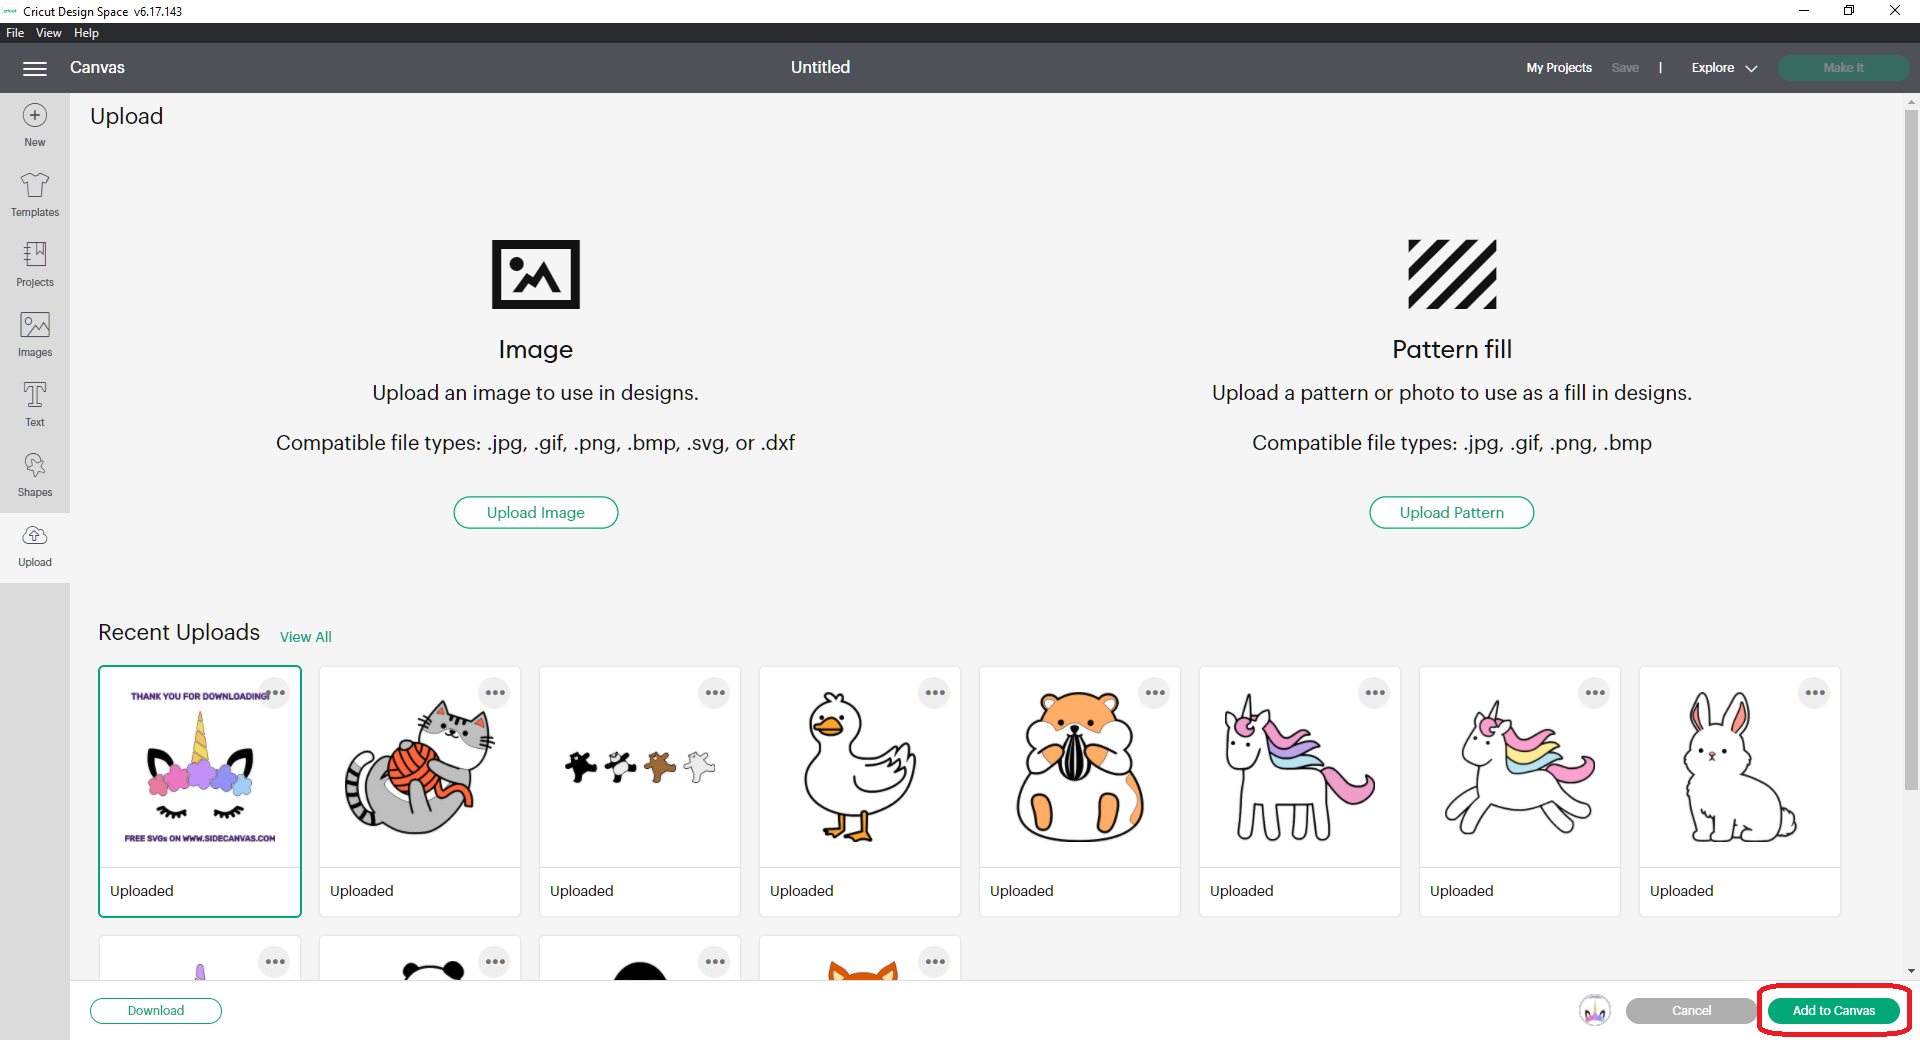
You’re almost there! Now all you need to do is add your selected design to your project. It’s that easy!
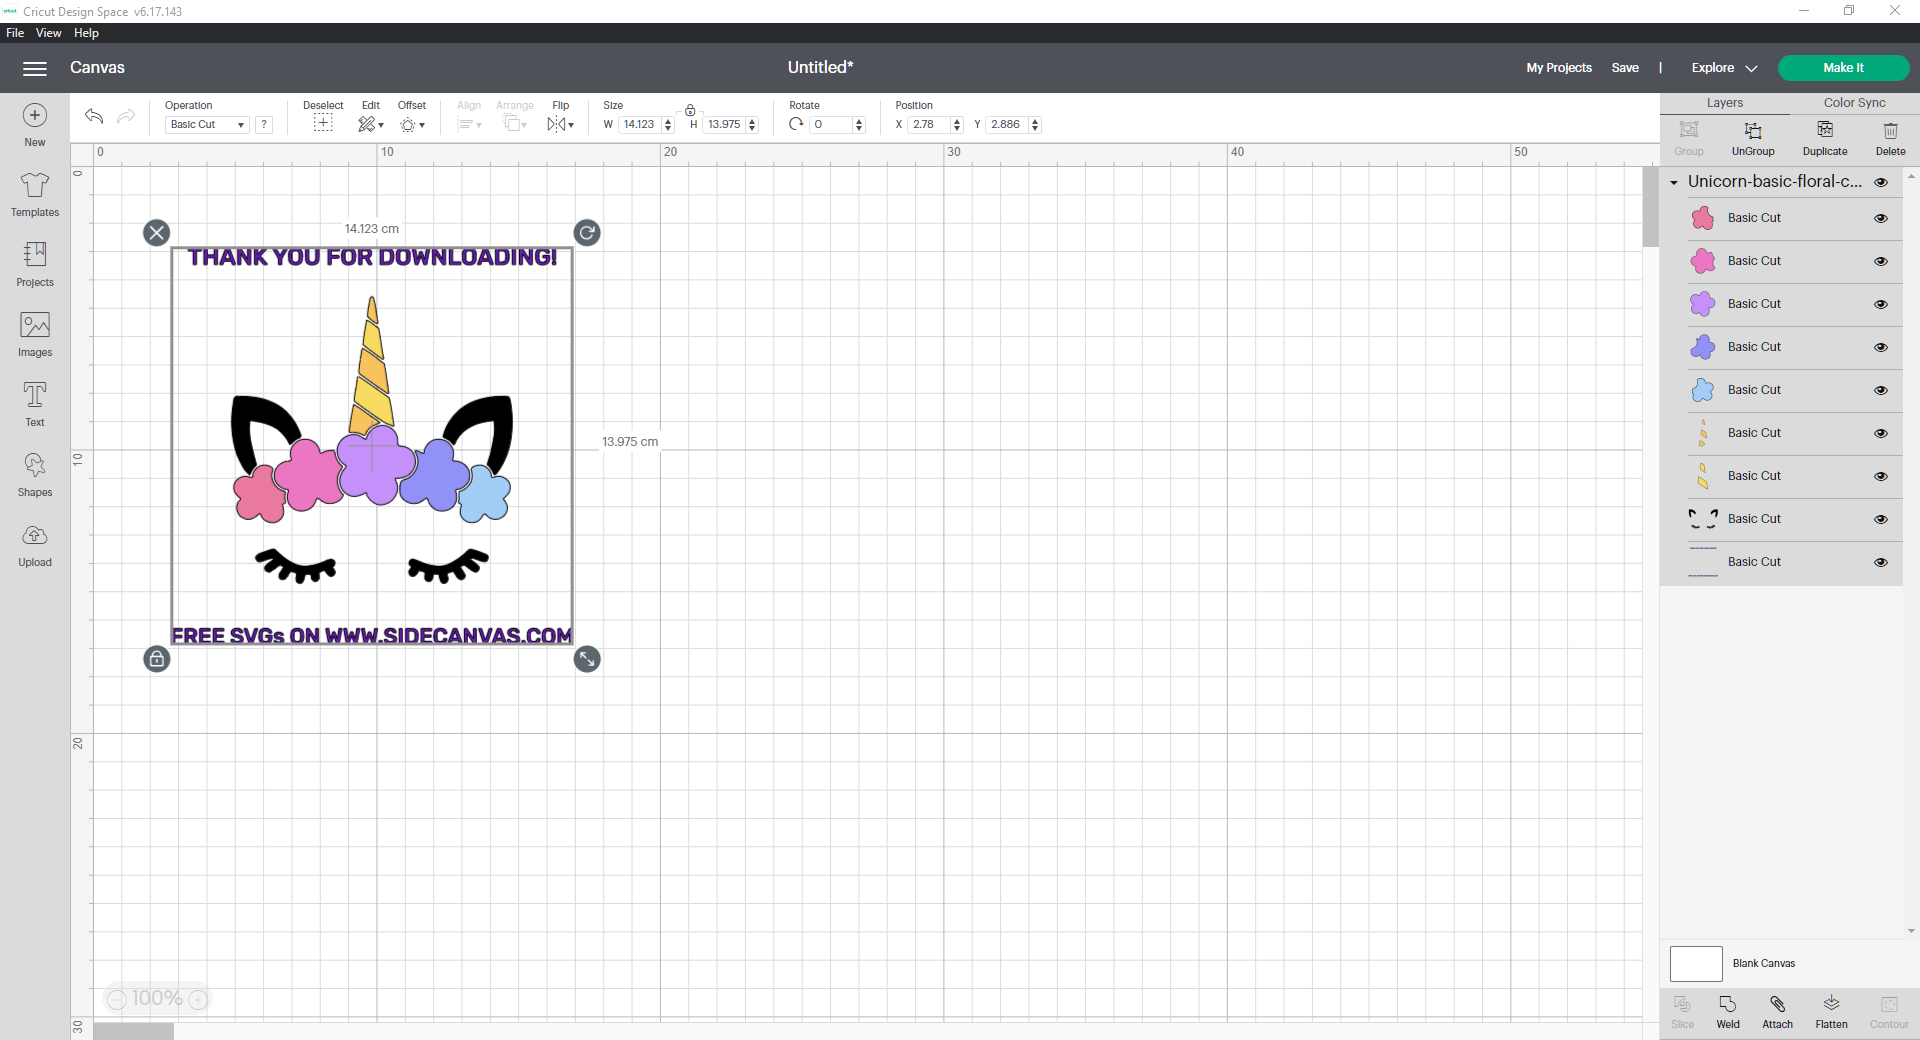
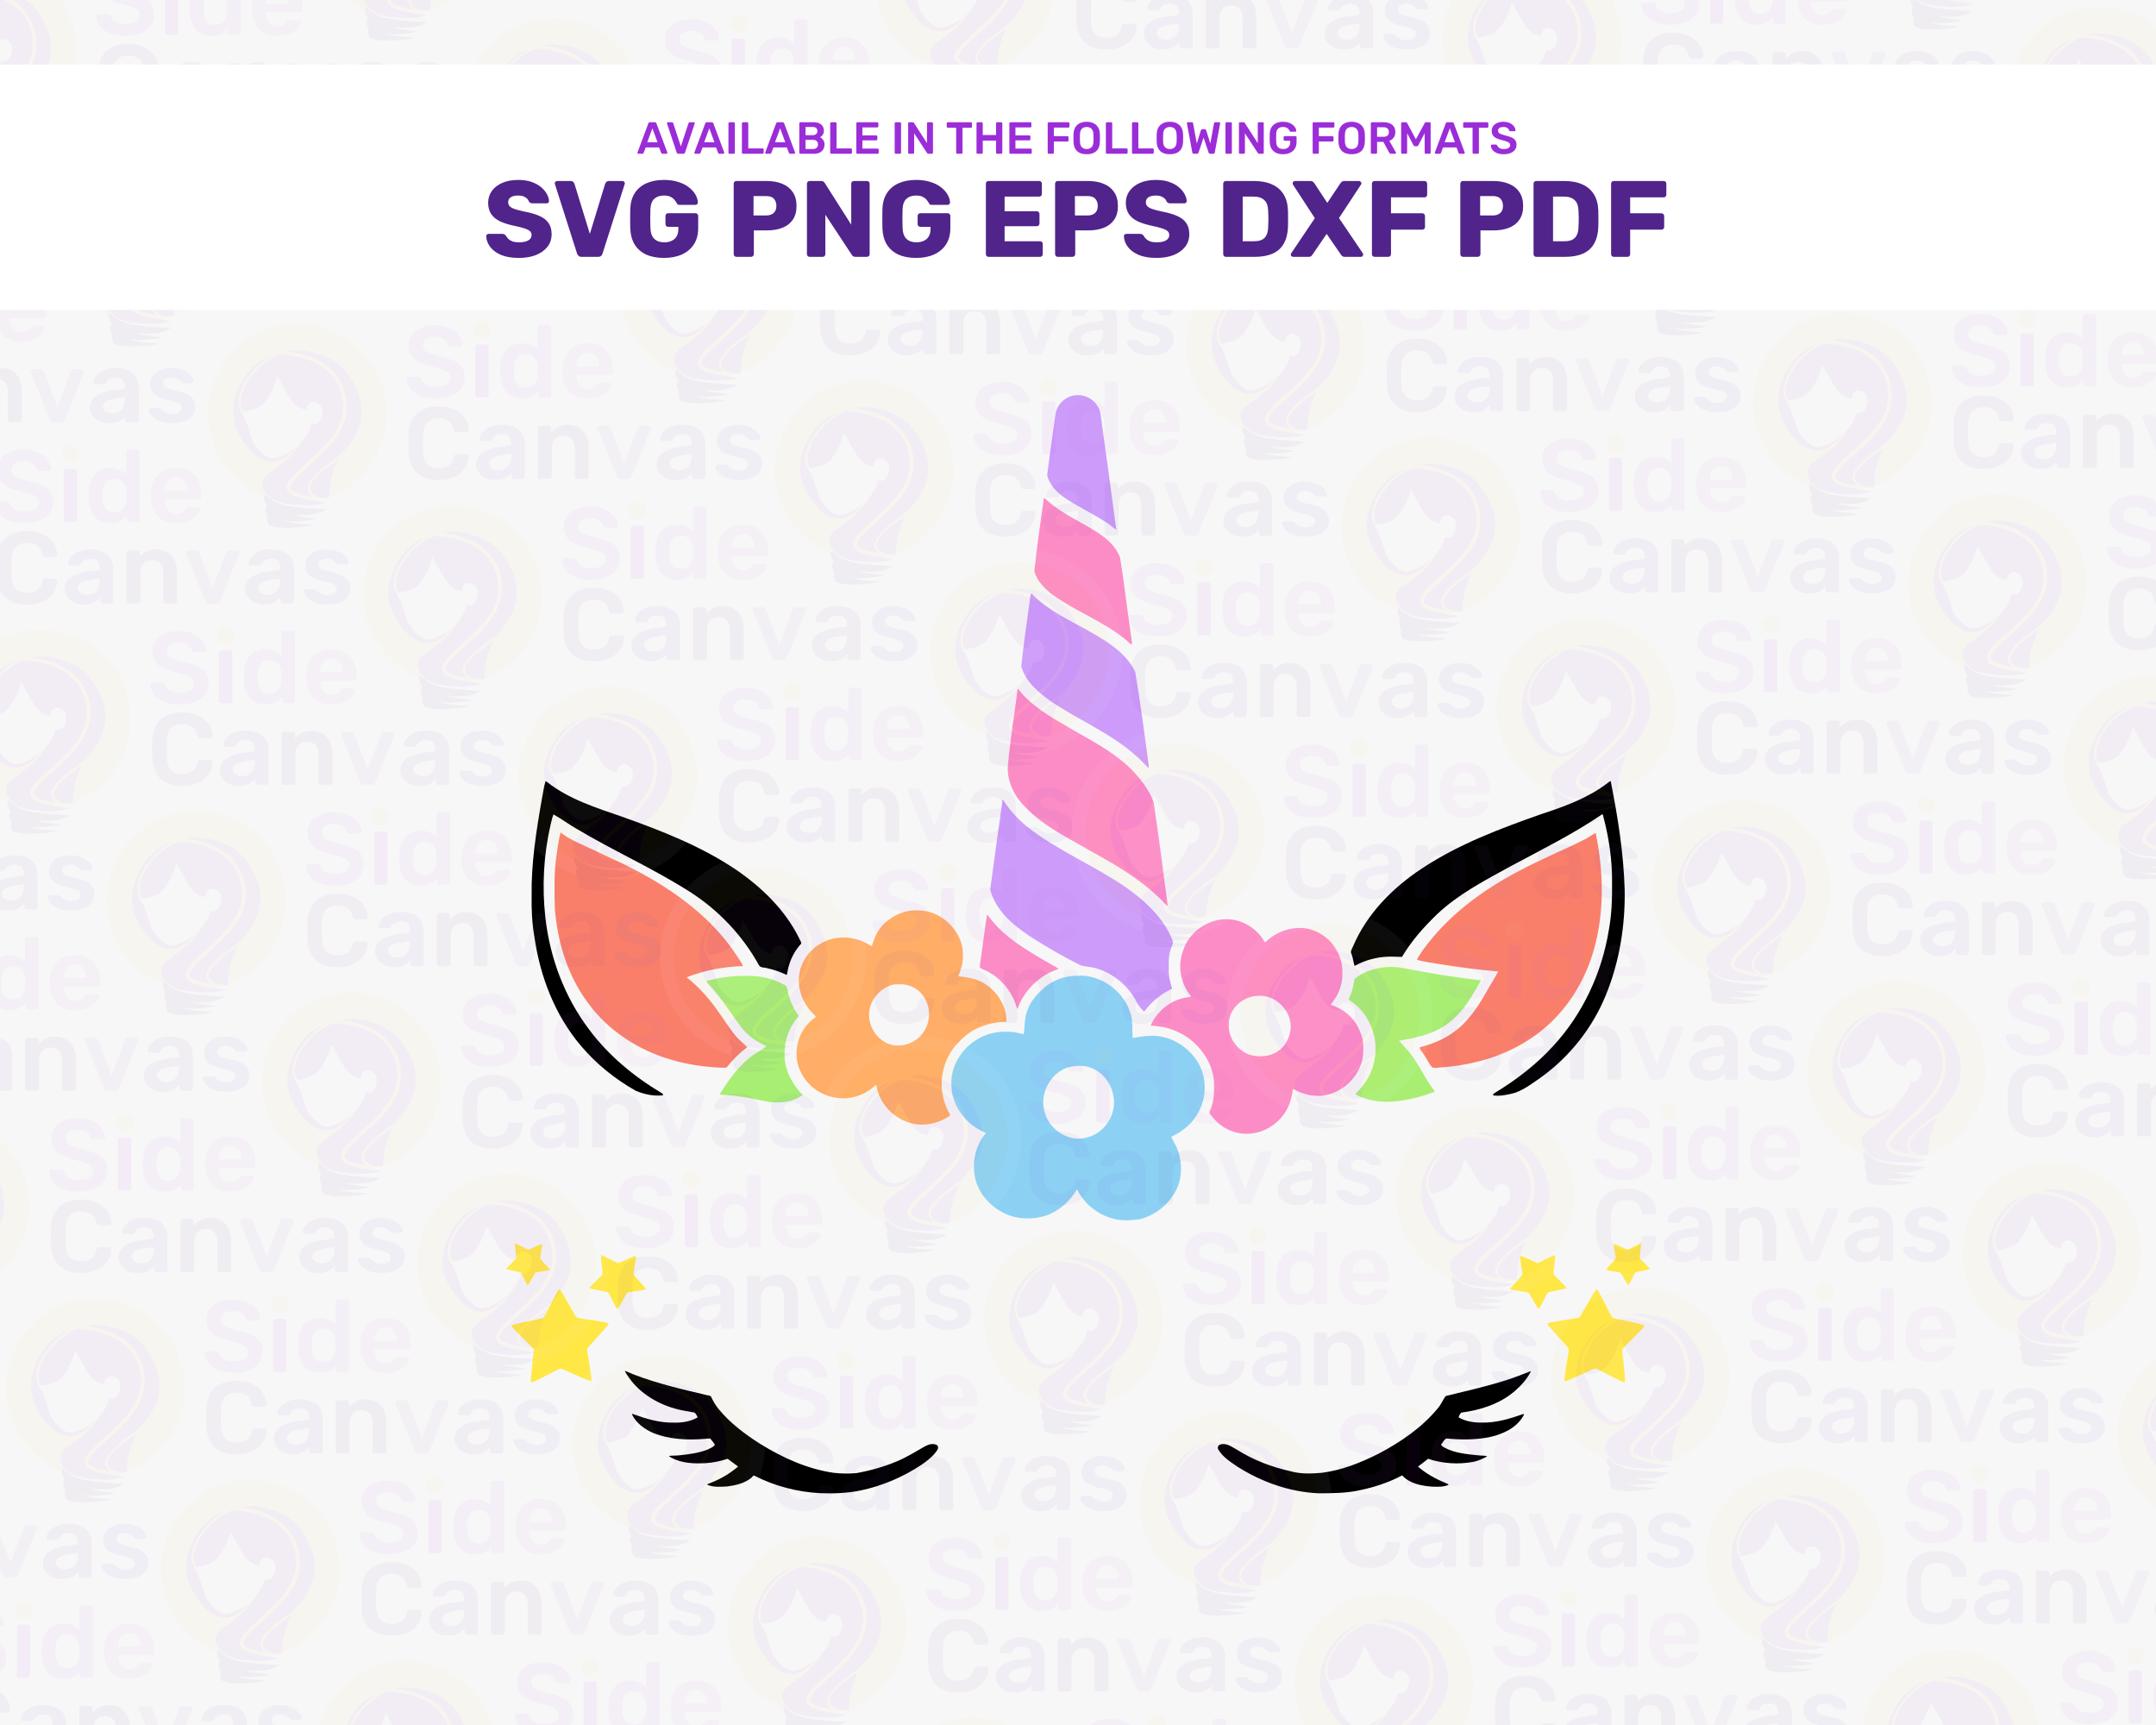
Feel free to try it out yourself with a free floral unicorn SVG file that you can download here.

